Continuing from last night’s blog post regarding Texifter’s latest work regarding the new navigation design and functionality in DiscoverText, tonight I’d like to introduce you to DiscoverText’s Cloud Explorer.
Most traditional tag clouds such as Wordle and TagCrowd only give you a static view of the terms in your text, however, the new and improved DiscoverText Cloud Explorer allows you not only to visualize the most frequent terms in your archives, but also allows you to customize the terms, term colors, and drill down into your archive by searching directly in DiscoverText on the terms.
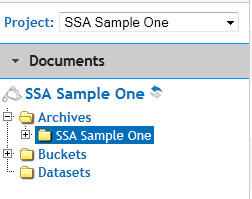
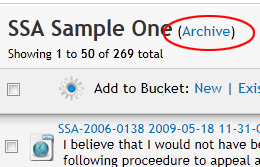
To create a tag cloud in DiscoverText, first go to your archive details either by right clicking on the archive in the navigation tree, or, clicking on the “Archive” link in the title when an archive is selected:
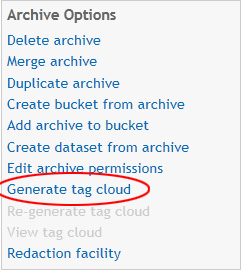
Then, in the “Archive Options” on the right side, choose “Generate Tag Cloud”:
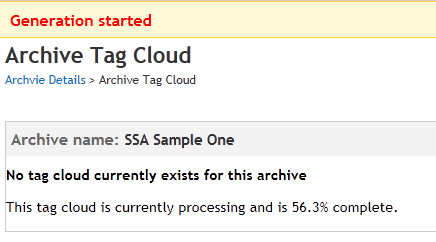
The tag cloud generation will start and run asynchronously in the background:
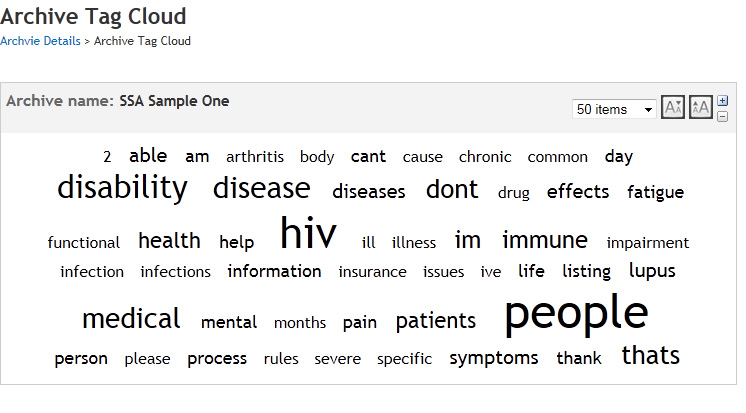
After the tag cloud has completed its creation, you will receive a notification. To view your tag cloud, go back to your archive’s detail page and choose “View Tag Cloud”. Initially, your tag cloud may look a bit plain:
In the upper-right in the Cloud Explorer, you will find a set of controls for changing the number of words in your tag cloud, increasing or decreasing the font size, or increasing or decreasing the variation of the font sizes. In the future, we may add various options for different layouts as well.
Clicking on any term in the cloud will bring up a context menu:
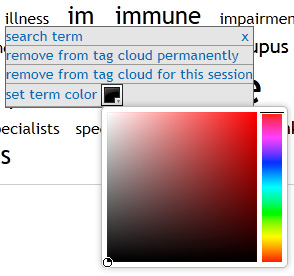 For any word in the tag cloud, you can drill down further and run a dynamic search by choosing “search term” for the highlighted word.
If you are the archive owner, and wish to permanently remove words from the tag cloud, choose “remove from tag cloud permanently”. With this, you can remove very common words such as “the”, “and”, “http”, etc.
If you choose “remove from tag cloud for this session”, then the term will be removed from this particular tag cloud while you are logged into DiscoverText. If you log out and log back in, it will reappear. This is good for performing tag cloud-based triage when trying to analyze your archives to choose keywords without performing any destructive edits.
Finally, again if you are the owner of an archive, you will also see the option to set a term’s color. If you click on the small color swatch to the right, a small color selection popup will be shown (as it is shown in the screenshot above). You can choose a color to assign to the term and click “set term color” to permanently set the word’s color. This is useful for highlighting key terms while performing your analysis.
I hope this gives you a bit of an introduction to one of the many new and exciting functions of DiscoverText we’ve been working on. You should also note that DiscoverText’s Cloud Explorer is only available for those users either still within the 30 day trial period, or those with professional or enterprise licenses.
As always, if you have any questions or comments, feel free to contact us.


Pingback: A Double-Dose of New Functions for Textifter | Texifter, LLC. Blog
Pingback: NEW FEATURE: Search All Public Facebook Posts | Texifter, LLC. Blog
Pingback: 70,000 Game of Thrones Tweets | Texifter, LLC. Blog
Pingback: Capturing Dissent on Social Media | Texifter, LLC. Blog
Pingback: Presenting Actionable Insights | Texifter, LLC. Blog
Pingback: Shaky News Coverage of Libya | Texifter, LLC. Blog